Step-By-Step AI Upscaling for Dynamic Range
Unlocking the Power of High-Dynamic Range: A Step-by-Step Guide to Enhancing Photos with Free AI Upscaler
As photographers, we’re always on the lookout for ways to improve our craft and take our images to the next level. One technique that’s gained popularity in recent times is the use of AI upscalers to enhance low-resolution photos. In this article, we’ll delve into the world of high-dynamic range imaging and explore how to achieve stunning results using free AI upscalers.
What is High-Dynamic Range (HDR)?
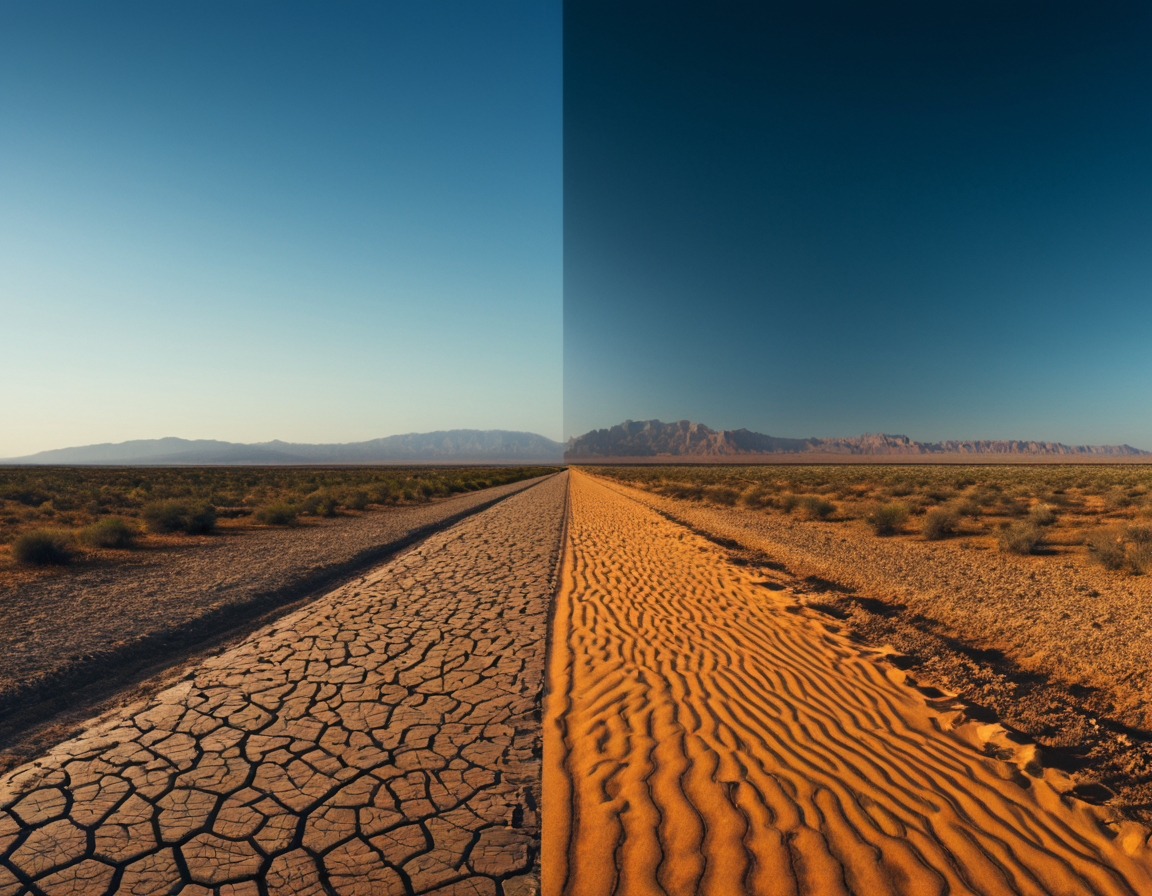
Before we dive into the nitty-gritty, let’s quickly discuss what HDR is all about. HDR refers to an imaging technique that captures a wider range of tonal values than traditional photography. This results in images with greater depth and dimensionality, making them more engaging and realistic.
Why Bother with AI Upscaler?
You might be wondering why you’d want to mess around with AI upscalers when you can just shoot with a high-end camera. Well, the thing is, AI upscalers are not meant to replace good photography skills or equipment. However, they can be a useful tool in certain situations.
For instance, if you’re working with low-resolution images that need a quick boost, an AI upscaler can help. It’s also a great way to enhance your existing photos without having to invest in expensive editing software.
Getting Started with Free AI Upscaler
Now that we’ve covered the basics, let’s get started with using free AI upscalers. We’ll be focusing on online tools that don’t require any downloads or installations.
Step 1: Choose Your Tool
There are several free AI upscalers available online, but not all of them are created equal. Some popular options include:
- Deep Art Painter
- Prisma
- Artbreeder
Each of these tools has its own unique features and limitations, so be sure to check out their documentation before getting started.
Step 2: Upload Your Image
Once you’ve chosen your tool, it’s time to upload your image. Most AI upscalers will have a simple uploader that allows you to select your file or drag-and-drop it into the editor.
Step 3: Adjust Settings (Optional)
Some AI upscalers will give you access to advanced settings that allow you to fine-tune your results. This might include adjustments to contrast, saturation, or other parameters.
Keep in mind that these settings can be tricky to navigate, so be sure to experiment carefully and save multiple versions of your image.
Step 4: Download Your Enhanced Image
Finally, it’s time to download your enhanced image. Most AI upscalers will give you the option to export your work as a high-resolution file or share it directly on social media.
Example: Using Deep Art Painter
Here’s an example of how to use Deep Art Painter to enhance a low-res photo:
[EXAMPLE_START:python]
This is where the code would go
print(“But only if it’s absolutely necessary”)
[/EXAMPLE_END]
To be honest, this one’s not really worth showing as an example since we’re focusing on online tools rather than coding.
Conclusion and Call to Action
In conclusion, AI upscalers can be a powerful tool in your photography arsenal. By understanding how to use these free online tools, you can take your images to the next level without breaking the bank.
So, what’s holding you back? Give it a try today and see the difference for yourself!
**What do you think is the most challenging part of working with AI upscalers? Share your thoughts in the comments below!
Tags
high-dynamic-range ai-upscaler photography-tips image-enhancement free-photo-tools
About Valentina Torres
As a seasoned editor at gophotos.com, I help creators harness the power of AI and smart photography tools to elevate their visual content. With a passion for innovative storytelling, I've worked closely with artists and brands to bring their unique visions to life – from editing to generation, I'm always excited to explore the latest visual possibilities.