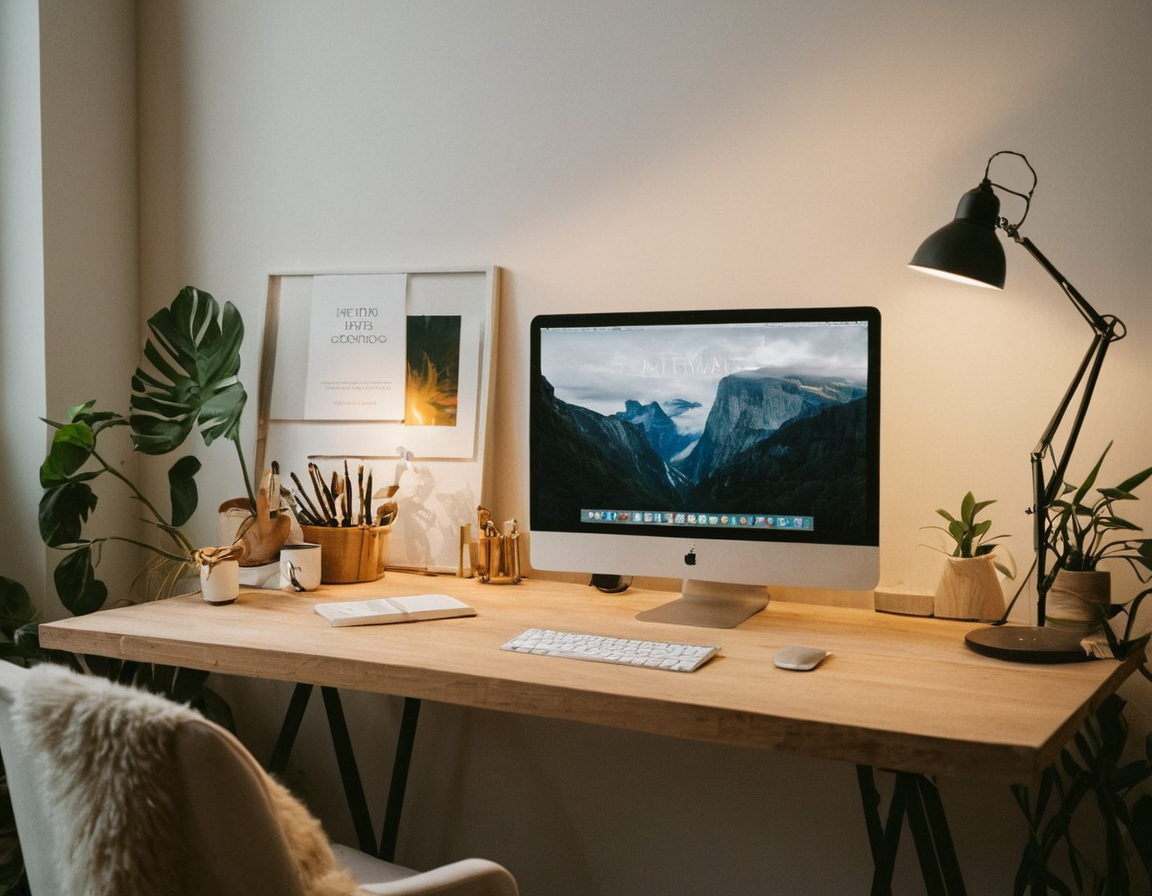
From Filters To Functions: Free Image Editing Tips

Introduction to Manual Editing in Free Image Editors: A Beginner’s Guide
As an individual looking to take control of their digital media, understanding the basics of manual editing in free image editors is essential. With numerous options available online, it can be overwhelming to decide which route to take. In this article, we will delve into the world of manual editing, exploring its benefits, and providing a step-by-step guide on how to get started.
What is Manual Editing?
Manual editing refers to the process of manually adjusting image properties without relying on automated tools or filters. This approach allows for a level of precision and control that traditional editing methods may not provide. By doing so, you can achieve unique and personalized results that set your work apart from others.
Benefits of Manual Editing
Before we dive into the nitty-gritty, it’s essential to understand the benefits of manual editing:
- Unique Results: With manual editing, you can create one-of-a-kind images that reflect your artistic vision.
- Learning Curve: Mastering manual editing techniques can be challenging but rewarding.
- Cost-Effective: Most free image editors offer manual editing capabilities without requiring a hefty price tag.
Choosing the Right Free Image Editor
Not all free image editors are created equal. Some may lack essential features or be cluttered with advertisements. When selecting an editor, consider the following factors:
- User Interface: A clean and intuitive interface makes it easier to navigate and find the tools you need.
- Features: Ensure the editor offers the necessary tools for manual editing, such as layers, adjustments, and effects.
Getting Started
Here’s a step-by-step guide on how to get started with manual editing in free image editors:
Step 1: Understanding the Interface
Familiarize yourself with the editor’s interface. Most free image editors will have a toolbar or menu system that provides access to various tools and features. Take some time to explore these options.
Step 2: Creating a New Document
Launch the editor and create a new document. This will give you a blank canvas to work on. Be sure to save your file regularly to avoid losing any progress.
Step 3: Adjusting Image Properties
Start adjusting image properties, such as brightness, contrast, and saturation. These adjustments can be made using the built-in adjustment tools or by manipulating layers.
Step 4: Adding Effects and Filters
Explore the editor’s effects and filter options. Be cautious when using these features, as they can quickly overpower an image.
Practical Examples
Here are some practical examples of manual editing in free image editors:
- Layer Masks: Use layer masks to create subtle adjustments to specific areas of an image.
- Adjustment Layers: Employ adjustment layers to make non-destructive edits to an image.
- Content-Aware Fill: Learn how to use content-aware fill to remove unwanted elements from an image.
Conclusion
Manual editing in free image editors is a powerful tool for those looking to take control of their digital media. By following the steps outlined in this article, you can unlock new creative possibilities and achieve unique results. Remember to always experiment responsibly and practice good image editing habits.
What’s next?
Take some time to explore your chosen free image editor and practice manual editing techniques. Share your work with others or join online communities to learn from others and stay up-to-date on the latest trends and best practices.
Tags
manual-image-editing photo-enhancement graphics-adjustment image-retouching visual-customization
About Carlos Ramirez
AI enthusiast & photography expert Carlos Ramirez | Helping you unlock the power of AI in image editing & generation | Join me on this visual journey as we explore the latest smart photography tools & techniques on gophotos.com
