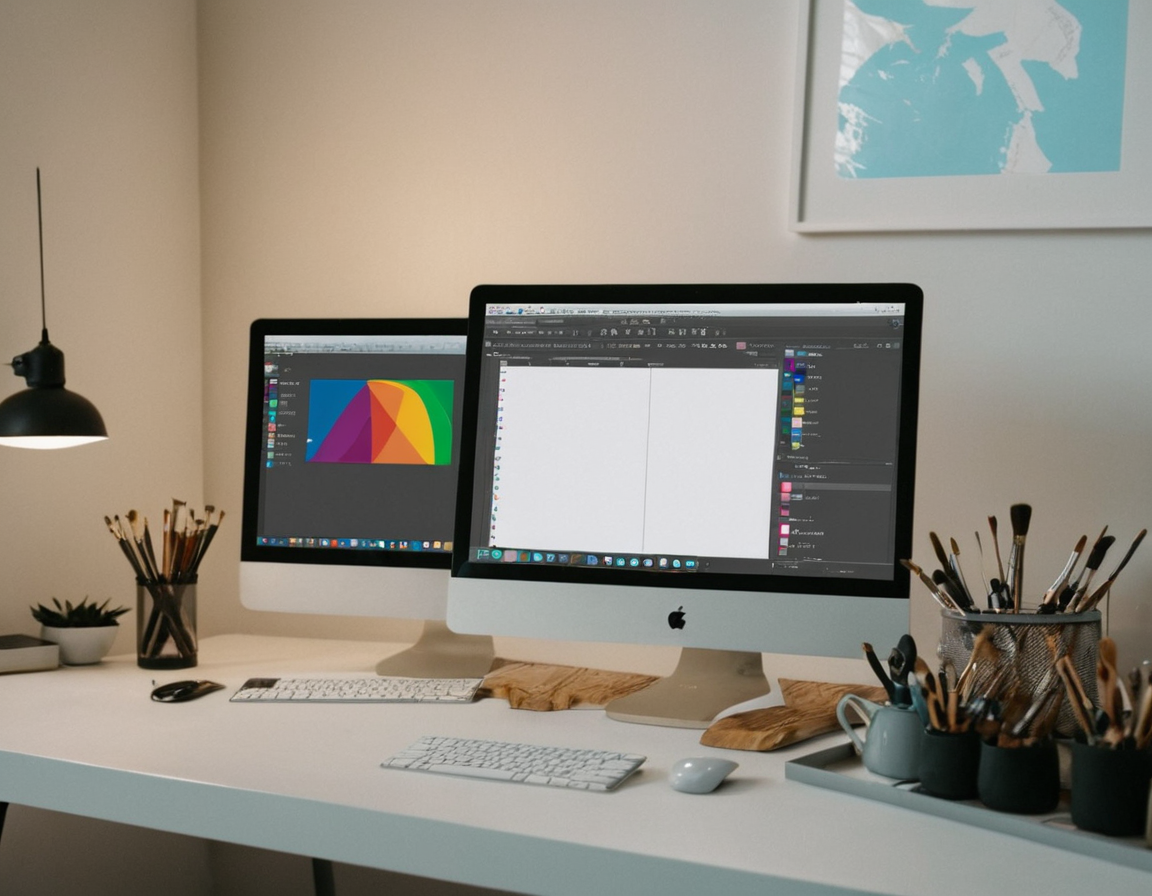
Budget Photography Editing Tips with Krita & Paint

Introduction to Photography Editing on a Budget
As the world of photography continues to evolve, photographers are constantly looking for ways to improve their skills and stay ahead of the curve. However, one common misconception is that high-end editing software is necessary for producing professional-grade images. In reality, there are many affordable alternatives available that can help you achieve similar results without breaking the bank.
In this article, we will explore two hidden gems in photography editing: Krita and Paint.NET. These tools offer a range of features and functionalities that can help you edit your photos like a pro, all within a budget-friendly price tag.
What is Krita?
Krita is a free and open-source painting and photo editing software that has been gaining popularity among photographers and artists alike. With its user-friendly interface and wide range of brushes, Krita offers a level of customization and control that is unmatched by many other editing software.
One of the standout features of Krita is its ability to mimic the look and feel of traditional media. From watercolor to oil painting, Krita’s brush engine can produce a staggering array of effects that are perfect for creating realistic textures and patterns.
What is Paint.NET?
Paint.NET is another popular alternative to high-end editing software. This free program offers a range of features and tools that can help you edit your photos, from basic adjustments to advanced retouching techniques.
One of the key benefits of using Paint.NET is its ability to import and export a wide range of file formats, including PSD, JPEG, and PNG. This makes it an ideal choice for photographers who need to work with files from other editing software.
Getting Started with Krita
Before you can start using Krita, you’ll need to download and install the software. Once installed, take some time to familiarize yourself with the interface and its various tools and features.
For beginners, it’s worth starting with the basic adjustments tools, such as exposure, contrast, and color balance. From here, you can start experimenting with more advanced techniques, such as layer masking and brush customization.
Getting Started with Paint.NET
Similar to Krita, the first step in using Paint.NET is to download and install the software. Once installed, take some time to explore the interface and its various tools and features.
One of the key benefits of using Paint.NET is its ability to import and export a wide range of file formats. This makes it an ideal choice for photographers who need to work with files from other editing software.
Practical Example: Using Krita for Basic Adjustments
For this example, let’s take a look at how to use Krita for some basic adjustments.
- Open a new image in Krita and create a duplicate layer
- Use the exposure tool to adjust the brightness and contrast of the image
- Experiment with different brush settings to achieve the desired effect
The key takeaway here is that Krita offers a wide range of features and tools that can help you achieve professional-grade results without breaking the bank.
Conclusion
In conclusion, there are many affordable alternatives available when it comes to photography editing. Krita and Paint.NET are two hidden gems that offer a range of features and functionalities that can help you edit your photos like a pro, all within a budget-friendly price tag.
By following the practical examples and tutorials outlined in this article, you’ll be well on your way to producing high-quality images that are sure to impress.
So next time you’re thinking about investing in expensive editing software, take a closer look at Krita and Paint.NET. You might just find yourself saving money and achieving professional-grade results.
Tags
photography-editing-krita affordable-photo-editors digital-darkroom professional-photos image-correction
About Isabella Anderson
As a seasoned editor at gophotos.com, I help shape the visual narrative of innovative AI-powered image tools. With a passion for smart photography and a background in fine-tuning editing workflows, I dive into the world of AI-driven creativity, making complex concepts accessible to all.
